Here's my tutorial showing how to do yesterday's rose drawing. Grab your pencil and paper!
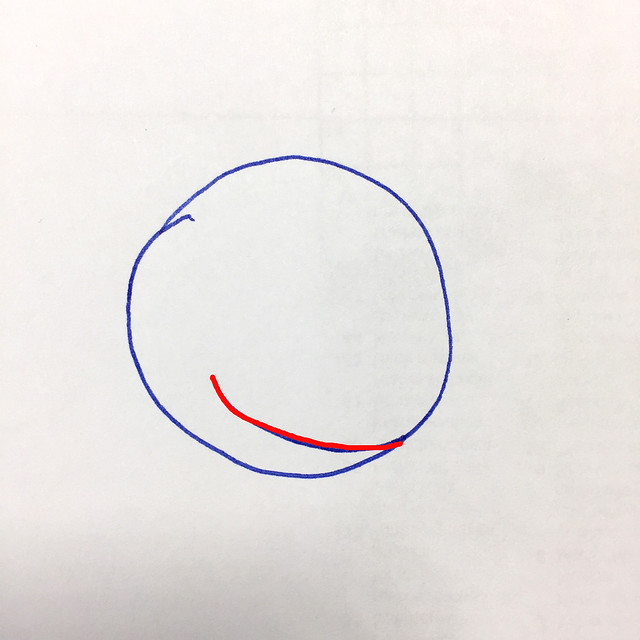
After you draw your circle, draw a curve like this one marked in red.
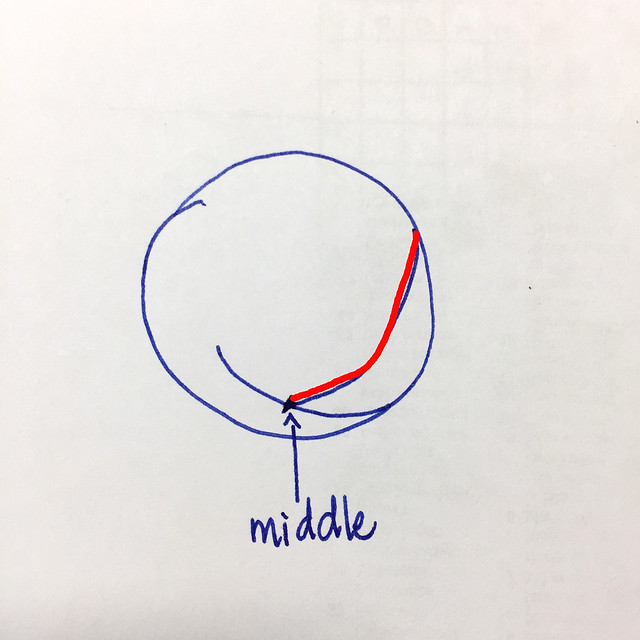
Starting at the halfway point of the previous curve draw a similar curve like this.
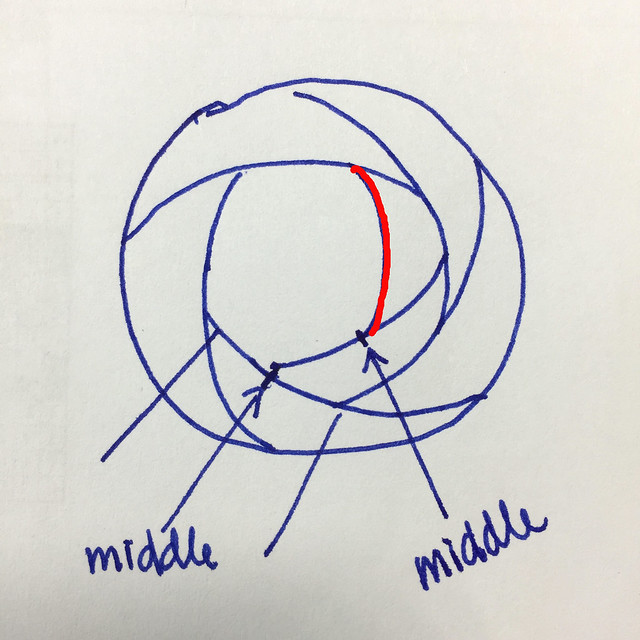
Same thing for the next curve.

One more time.

This is the last curve that completes the first layer. If your final curve doesn't exactly meet up with the first, it's okay; just extend the first one to meet like I did here.

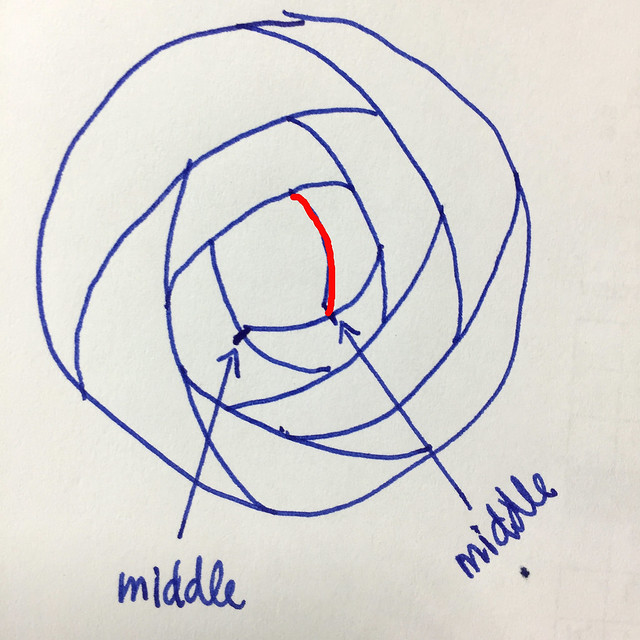
For the second layer your initial curved line should start in the middle of a section like this.

It will look something like this. It doesn't really matter where your curve ends.

Like before, your next curve starts at the middle of the previous.
Repeat.

Again
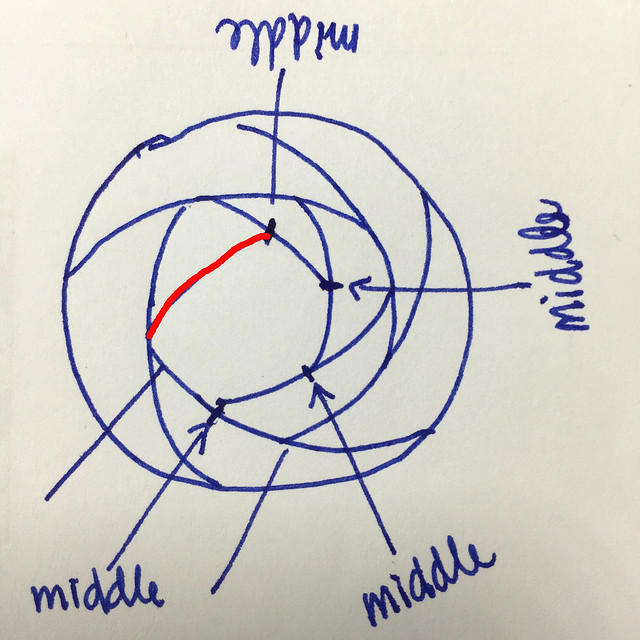
Once more and this completes your second layer.

To complete the inside of the flower, continue on in the same way as before.


If you made it this far, congratulations!! I'm so happy!

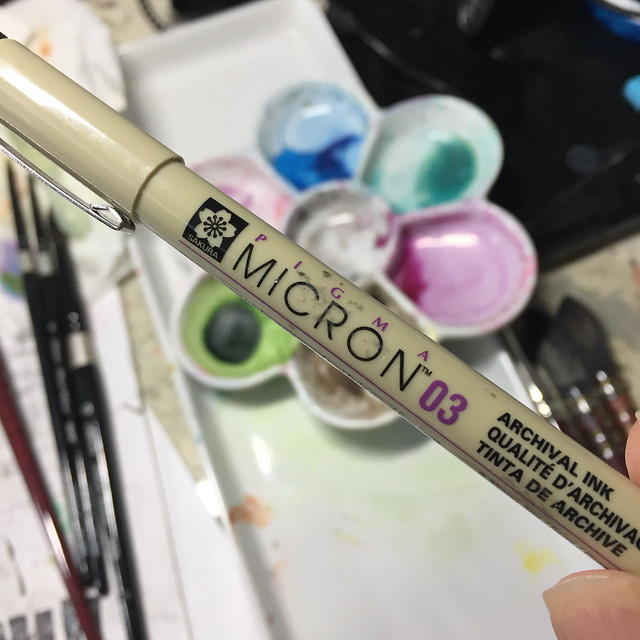
This is the fineliner that I used to draw in the lines for yesterday's artwork.


8 comments:
Thank you for this. Now I will try to see if I can do it. LOL
Izsmom
Izsmom, good luck!!
nice directions:)
Cool! Great tutorial, thanks!
Great tutorial!
Kat, LOL, thanks.
Aunty, hope you get to try on your ceramics.
Susan, thanks!
Thanks Jalna! This is soo cool.. great and simple instructions. I'll definitely try it out.. :-)
Shun Wah!! Nice to hear from you!
Post a Comment